Do You Want To Know The Best Ways To Make Business Card In Photoshop?
A business card connects you with your potential consumers or clients. It identifies you in connection with your business. Business cards should not have an entire story printed on them; a well-designed business card always should be precise in conveying the image of your business. But making that possible doesn't always come so easy. How are you supposed to make a 2 by 3 inches paper convey the overall image of your business? Your business card is not a thing that should have to tell your company’s entire story. A unique and professional business card should contain an image or symbol that people can remember along with the color, wording, and texture of the card. These factors have lot to do with conveying your company’s image and with people remembering it.
How to Make Business Cards in Photoshop
Let us tell you a few steps that’ll be beneficial in designing own business card in Photoshop
Step 1:
First of all open new Photoshop document file on your computer. Select the CMYK color mode and 300 dpi minimum. Set the size to 3.75 inches by 5.25 inches wide. This the size that every basic business card is made on. Add some extra space on the edges in case the printer need to cut bits off the side, commonly known as a bleed.
Step 2:
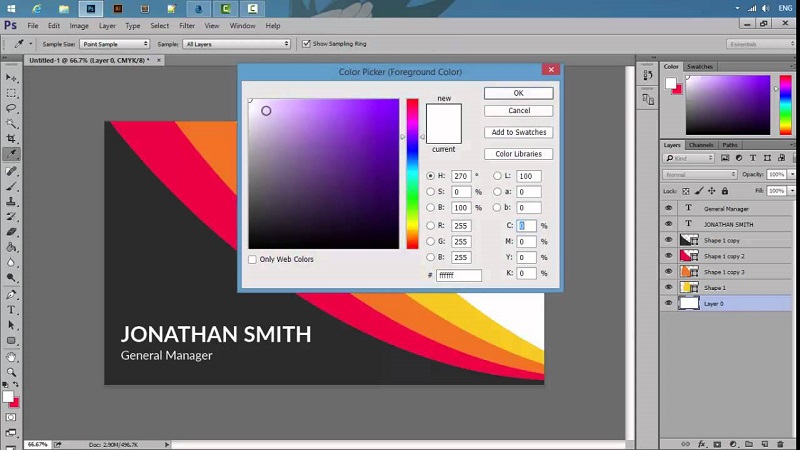
Strat with building the background for your card. Decide with the color you think goes best with the nature of your business. When you’re done with the color selection, work on the foreground and background color as you like the gradient to be. Now select the option ‘foreground to background’, as shown in the picture. This way you can easily drag the gradient across the canvas.
Step 3:
Work on giving your background some texture. Fill it with some elements or shapes that you think best goes with your business image. You can also work on adding layers to it.
Step 4:
When you're done with the background, textures, and layering now move on to the toolbar and click on the “Type” tool. Click on the document and type in your full name, address, website, phone number and an email address. Write it on separate lines and adjust it on whichever side of the card you think suits best. Now select the text and click the “character” tab window and change the font to the font you think suits the card better. You can change alignment of the text by clicking on the “Paragraph” window.
Step 5:
To open a new file for browsing the image file from your computer click “CTRL+O” and upload your company logo. Press the “Open” tab to display the logo inside the photoshop window. Now drag and adjust the logo to the desired position where you want it to be.
Step 6:
Now move on to the “Type” tool back again just to add a new block of text. Type in your company’s slogan or tagline to best describes your business. Adjust the text again by using the “character” or “Paragraph” window.
Step 7:
Now the final step, click on “CTRL+S” and save the designed file (the file will be saved as PSD document). Make sure to save a copy of your designed file as JPEG, PDF or TIF format. These formats are usually printer friendly. Now that your business cards printed and ready to be dispatched to the office. Don’t forget to request them to put it or store your cards in corrugated business card boxes.
Copyright recipeforcooking